

How to Make a Square Product Thumbnail: Crop vs. Pad, Compared in a Product List
Three ways to turn a portrait product photo into a square main image—center crop, crop around the product, and pad with white—compared by how large the product appears in a product list thumbnail.
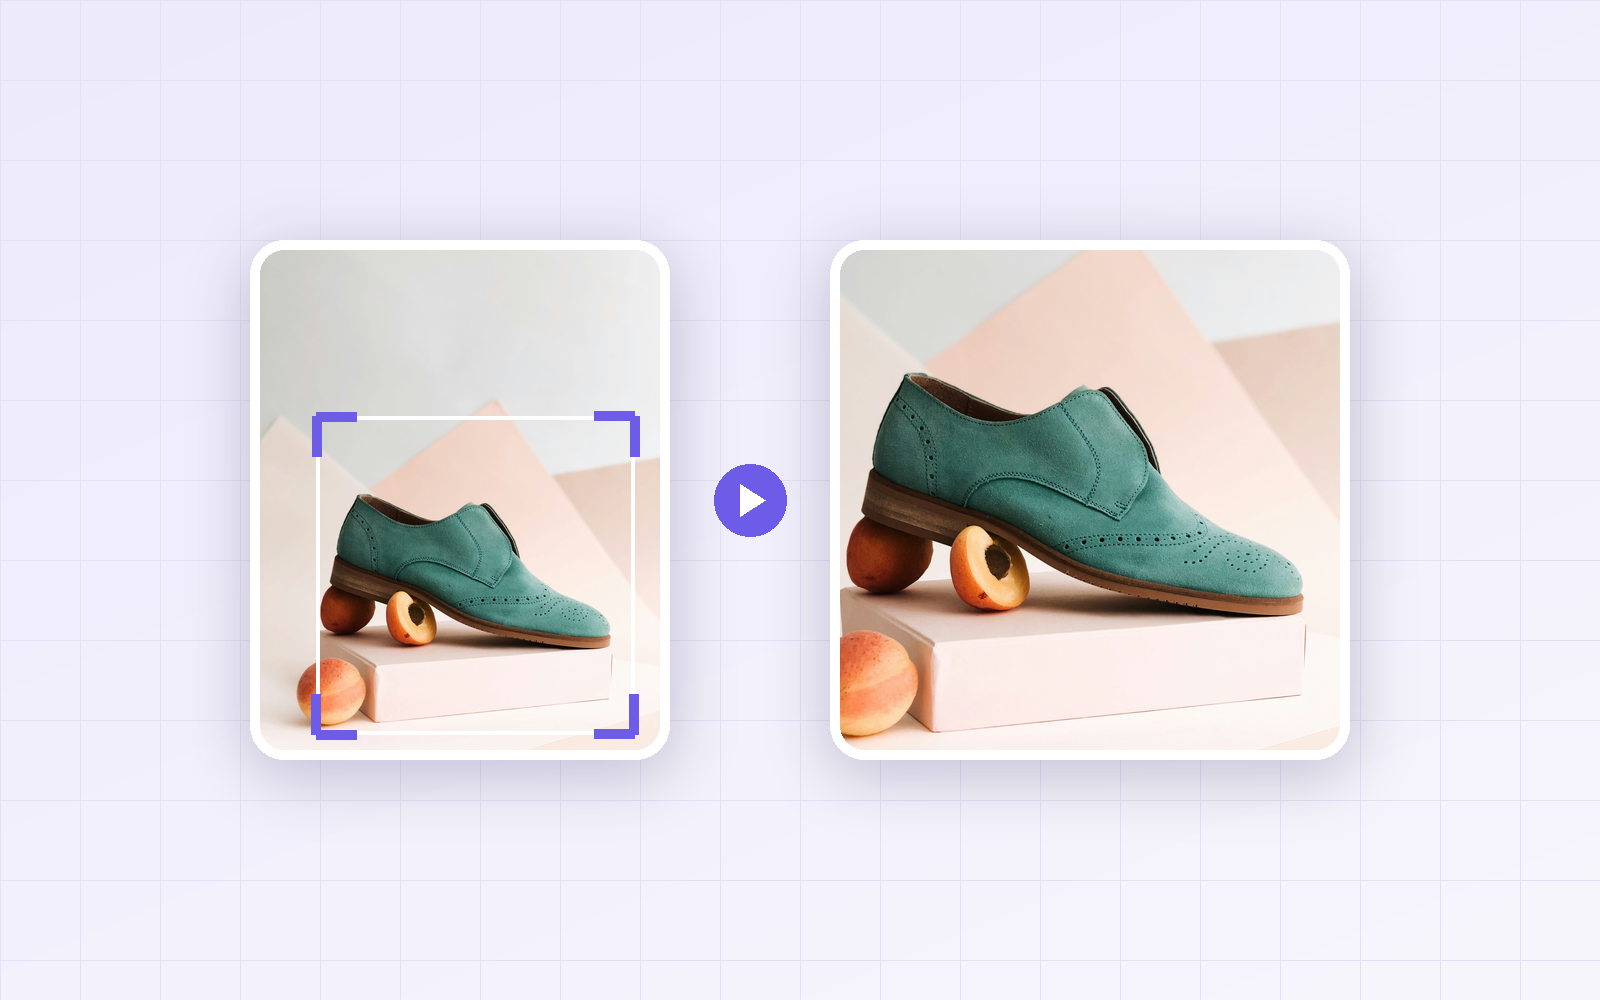
On most online marketplaces, the main product image (thumbnail) shows up as a square. But the photos you shoot are usually taller or wider than that. There are three main ways to make one square: center crop, crop around the product, or pad with white. I turned the same portrait-orientation photo into a square all three ways and compared how big the product looks in a product list.
Bottom line: cropping around the product worked best. The product filled about 85% of the width, so in a 180px list thumbnail (an example size) it appeared about 153px wide. Padding with white shrank it to about 97px—only two-thirds the size. Use padding only when the product must not be cropped or the marketplace requires a white background.
Comparing the three methods
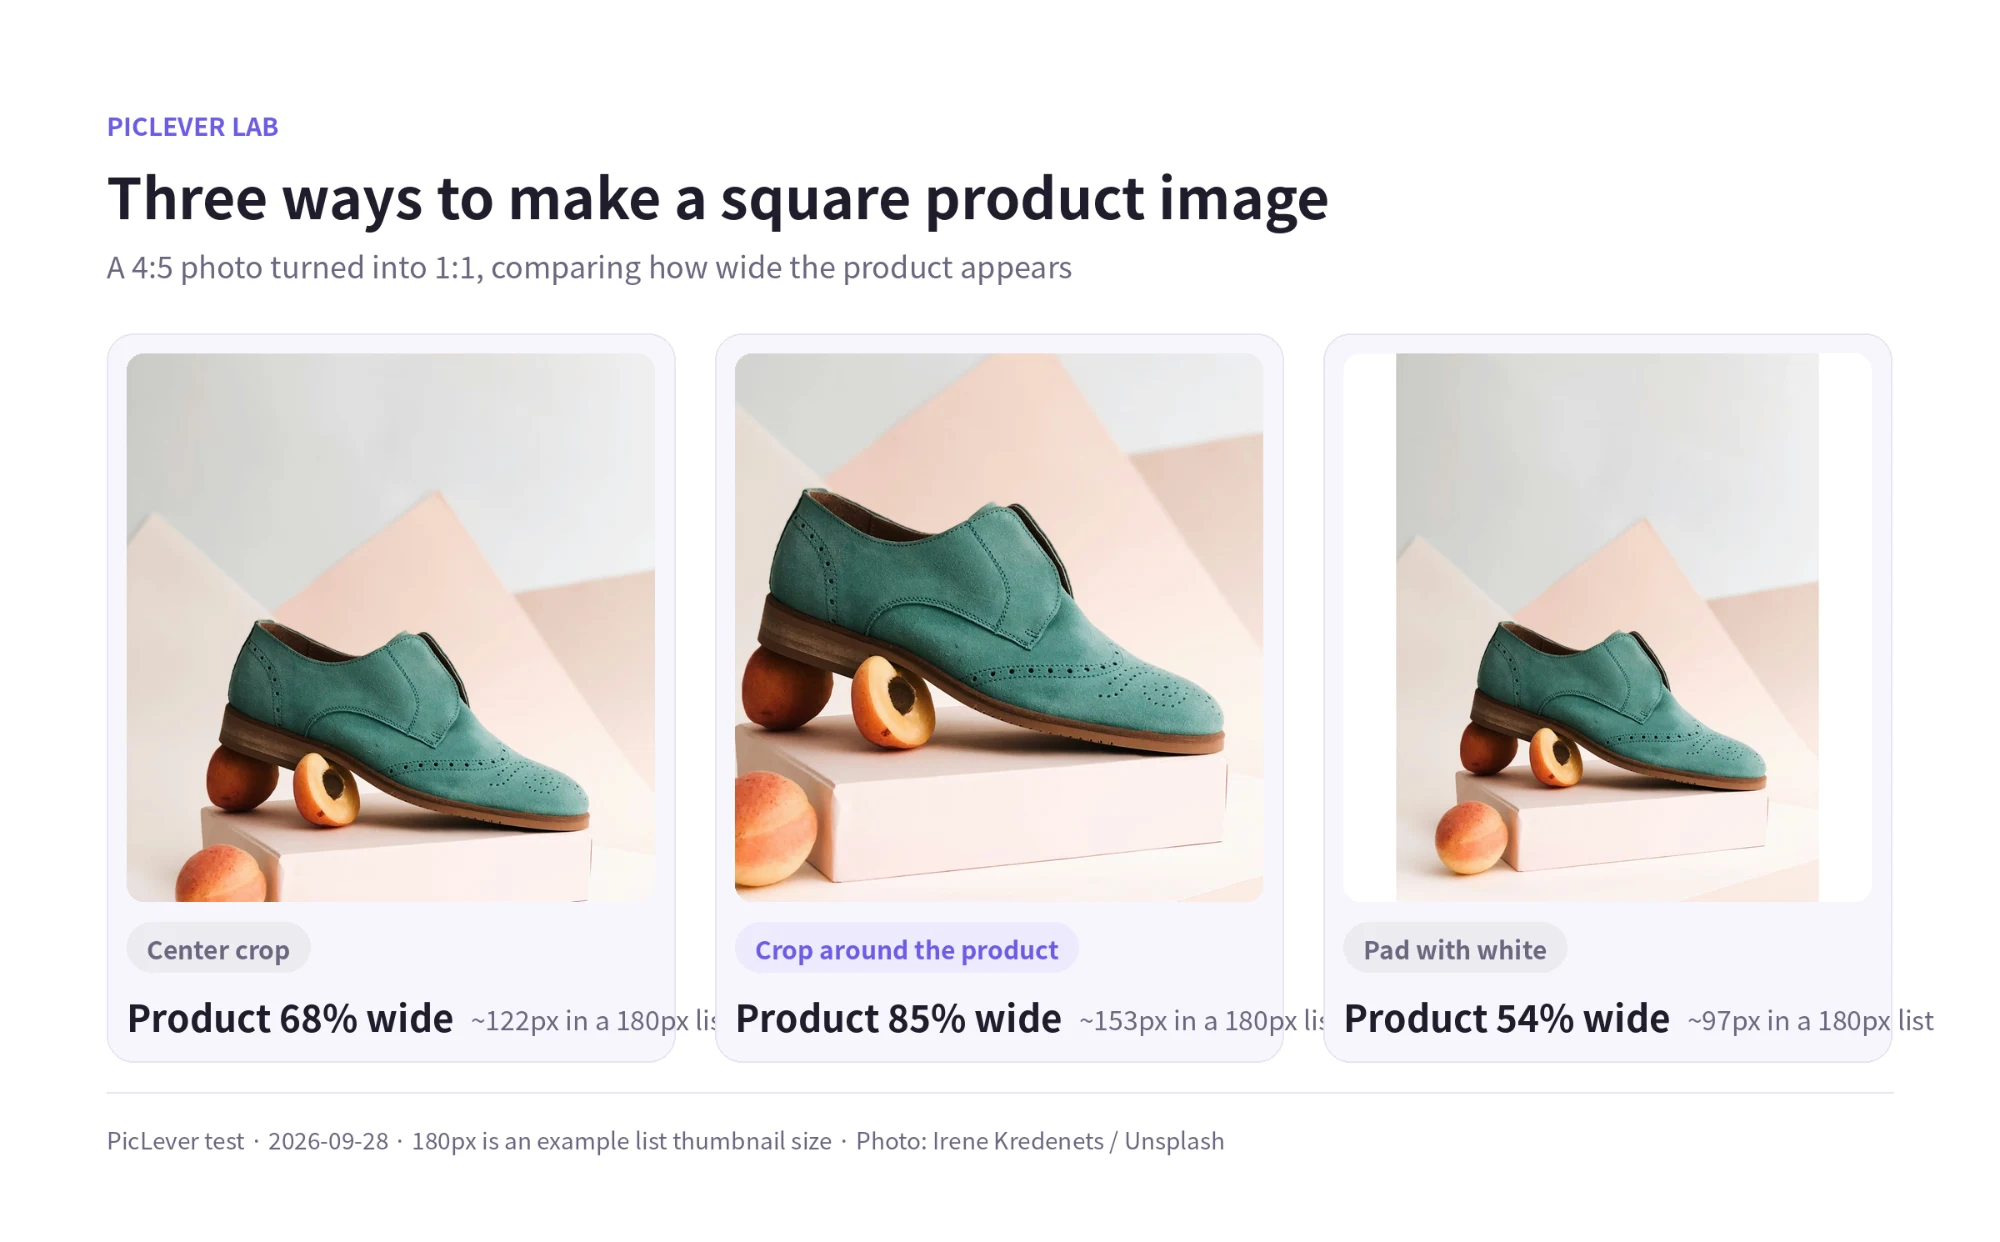
| Method | Product width | Product size in a 180px list | 1000×1000 JPG 90 file size |
|---|---|---|---|
| Center crop | About 68% | About 122px | 101KB |
| Crop around the product | About 85% | About 153px | 136KB |
| Pad with white | About 54% | About 97px | 82KB |
-
Center crop: the simplest option, but if the product isn't centered in the photo, it ends up off to one side or surrounded by too much background.
-
Crop around the product: leaves just a little room around the product. It looks biggest in the list and stands out most. The file is slightly larger because more product detail fills the frame, but that's fine for a thumbnail.
-
Pad with white: nothing gets cropped, so the whole product stays intact—but it gets smaller. Good for marketplaces that require white backgrounds, or tall products like bottles or clothes on a hanger.
Test setup
-
Sample: portrait product photo, 3200×4000px (4:5) — Photo: Irene Kredenets / Unsplash
-
Made square with each method, resized to 1000×1000px and saved as JPG quality 90
-
"Product width" is the shoe's width divided by the side of the square; 180px is an example mobile list thumbnail size · Tested 2026-09-28
Tips for cropping around the product
-
Leave a little room around it. Aim for the product to fill about 80–90% of the width. Filling it edge to edge looks cramped in a list, and some marketplaces cover the edges.
-
Make sure the crop isn't too small. The square should be at least 1000px on each side so it stays sharp when saved at 1000×1000. In this test it was 2540px, with room to spare. Cropping tightly on a small photo means upscaling, which blurs—AI upscaling can help in that case.
-
Keep the product centered. Some marketplaces place a wishlist button or discount badge over the thumbnail, so keep important details away from the corners.
Making a square main image with PicLever
-
Upload the photo to the Image Cropper and choose Rectangle.
-
Enter the same value for width and height (for example, 2500) in the crop settings and click Apply size to create a square selection. Turn on Keep ratio so it stays square when you resize it.
-
Drag the selection so the product sits in the middle, then create the crop.
-
In the Image Resizer, resize to 1000×1000px and save as JPG. For multiple products, use batch editing.
If you want white padding instead, place the photo in the center of a white square canvas.
FAQ
Q. What size should the main image be?
It varies by marketplace, but sellers commonly prepare a 1:1 square at about 1000×1000px. Some marketplaces let shoppers zoom in, so don't go too small. Check each marketplace's seller help for minimum and recommended sizes before you upload.
Q. What if I need a round thumbnail?
Choose Circle / ellipse in the Image Cropper. Save as PNG to keep the area outside the circle transparent.
Q. Do detail page images need to be square too?
No. Detail page images only need to match the width; the height is up to you. See Naver Smart Store Detail Page Image Specs.